
To re-cap here's the end result. A tissue paper print, fused to white fabric ready to be incorporated into a wall hanging. I hope you can see the texture in this photo, the wrinkles in the tissue paper give it an appearance of leather. Click on the photo for a closer look.

Now how do you do it? Cut a piece of tissue paper a little smaller than A4. Tape the tissue paper to your 'normal' piece of A4 paper, a little down from the first edge that goes through the printer. Use one long piece of tape that goes across the whole width of paper.
(I recycled the tissue paper from a shoe box, and used 'invisible' tape, not shiny sellotape)
You may have to click on the photos to see better what I mean! Below I have lifted the tissue paper so you can see better what I have done. (I hope)

Attaching the tissue like this worked for me, but you may have secure the bottom of the tissue paper too, it depends on your printer.
Next put the tissue (attached to 'normal' paper) into your printer feed tray, and print your picture.
UPDATE: The printer I'm using is an inkjet, sorry for not putting that in before, and thanks to Rusty Bird for asking. (25 Sept)
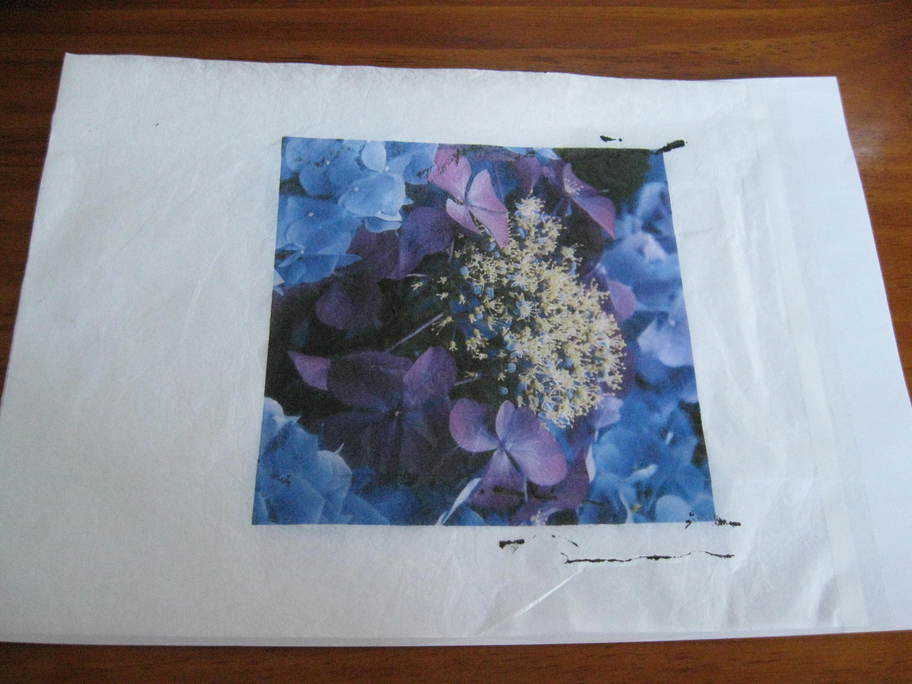
Here's the tissue print fresh from the printer, still attached to it's carrier of 'normal' paper.
I have a little smudging but thats OK I'll just crop it later.


Remove the carrier of normal paper, it was just there to help the tissue paper go through the printer and soak up any excess ink that goes through the tissue.
Trim the tissue print to size, make sure you leave a seam allowance if you are going to use the whole print.

Cut a piece of Vliesofix or Steam a Seam the size of your print.
OPPS I forgot to take a photo of using the iron to fuse the Steam a Seam to the back of the print!
But I'm sure you all know how to do that. Use your silicon appliqué sheet when you are doing the fusing so you don't mess up your iron/ironing board.

OK heres the print after I have fused Steam a Seam to the back, then peeled off the release paper and fused the print (by ironing) to white fabric. Now you just have to trim and sew it into your creation.

On the left is the print I have just fused to fabric, on the right is the one I did the other day. I have redone it because the I wanted to change the colours. If you look closely the centre of the flower is more yellow now, (was lime green) and the pinks more saturated. I changed the colours in my EQ7 quilt software by reducing the 'green' content and the increasing the saturation of all the colours.

Beautiful! I love the colors. Do you use an inkjet printer, or a laserjet printer?
ReplyDelete